How to Setup GHUnit With CocoaPods
The installation guide for GHUnit is for installing the framework in the traditional way.
As you might know, CocoaPods is the new way to handle dependencies. Of course, GHUnit is supported.
The is a lack of a guide on how you setup the two useful iOS libraries together.
It is similar to the official guide. I am going to point out the differences when need to.
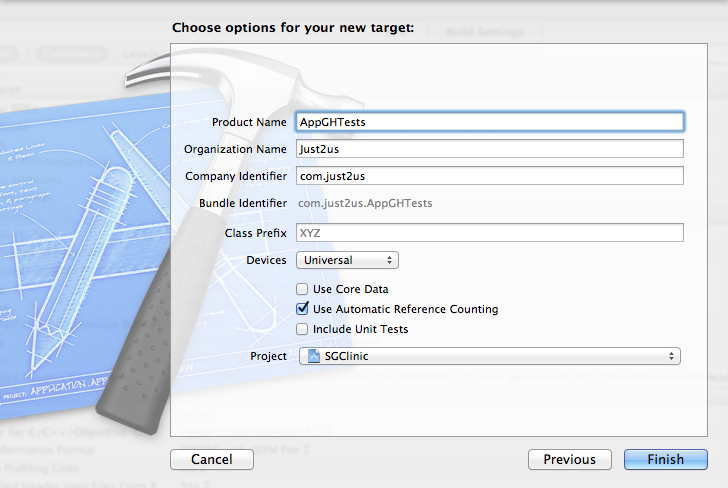
Step 1 – Create Test Target
This is the same. You create a completely new application target.
I prefer to name it AppGHTests, as I might still be using AppTests for my SenTestings.

Step 2 – Configure Test Target
You DON’T have to download and copy GHUnitIOS.framework to your project since you are using CocoaPods. Instead, you should setup GHUnit pods.
Edit the Prodfile and add GHUnitIOS.
platform :ios
pod 'GHUnitIOS', '0.5.5'
Then install the pod as per normal.
$ pod install
Continue with the official guide to remove the unnecessary files, and edit main.m to replace the delegate class with GHUnitIOSAppDelegate.
Step 3 – Configure Pod for Test Target
This part is IMPORTANT. The new test target will not include the pods.
You need to configure the target to be based on Pods project. Refer to this post.
Lastly, add the libPods.a library to the test target.

That’s it. Run the test target!